
Small tears, loose joints, and seam separation are the most common issues owners run into, and most of them are fixable at home with a basic repair kit rather than a full replacement. Here’s how to handle the common cases.
What’s in a basic repair kit
- Material-matched adhesive (TPE glue or silicone sealant — the two are not interchangeable, use the one that matches your doll’s material)
- Fine sandpaper or a scuffing pad, to lightly rough the surface for better adhesion
- Isopropyl alcohol wipes, to clean the area before repair
- Small clamps or tape, to hold the repair together while it cures
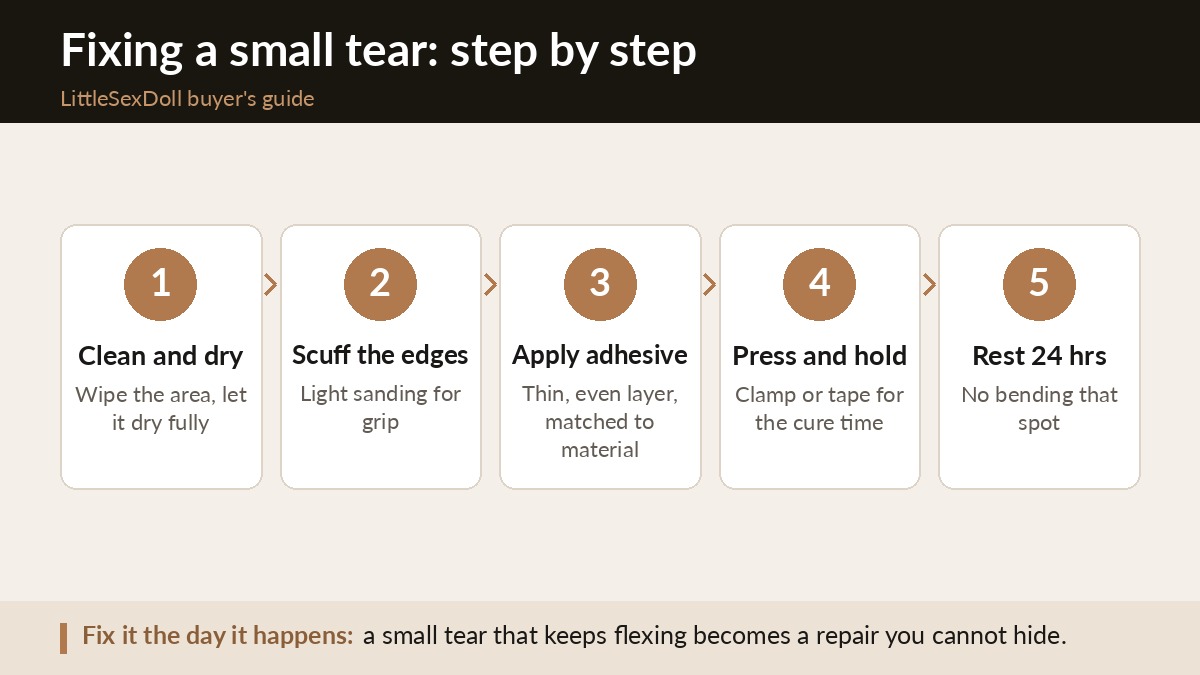
Fixing a small tear
- Clean the torn area and let it dry fully.
- Lightly scuff both edges of the tear so the adhesive has something to grip.
- Apply a thin, even layer of the matched adhesive to both edges.
- Press the edges together and hold with tape or a clamp for the cure time listed on the product, usually a few hours.
- Avoid bending or stressing that spot for at least 24 hours after the repair sets.
Tightening a loose joint
A joint that’s gone loose from repeated use usually has an access point, often at the seam near the joint, where the internal tensioning bolt can be reached and tightened with the right size hex key. Check whether your doll’s manual specifies this before attempting it, since not every skeleton is designed to be user-serviced this way, and forcing an access point that isn’t meant to open can cause more damage than the original problem.
When to stop and contact the seller instead
A tear longer than a few centimeters, damage near a joint connection point, or anything involving the internal skeleton itself is past the point where a home repair kit is the right tool. At that stage, contacting the seller about a replacement part or professional repair service is the safer move, both for the doll and to avoid voiding any warranty that might still apply.